When I was a kid my mom would beg me to pick the produce in the garden. I hated working in the garden, but I wasn’t complaining when I got to eat green beans and peas as I picked grocery bags full of them. We ate some of this bounty immediately for meals and froze and canned the rest to use later in the year. I loved the garden produce so much that I have planted and harvested a garden for over 20 years now. I learn something new every year I garden and love to give gardening tips to those who have never gardened, including the cashier at Walmart.
You too can become a successful gardener by following the 6 steps to start your first garden. You may need a little manpower or help, but it’s so worth it when your produce comes in and you can share your vegetables with your neighbors and friends.
My first garden was in Iowa with its warm climate and thick dark soil. We edged off a three foot wide area along the side of our garage, tilled up the soil and planted tomatoes. I am in love with tomatoes. That’s how I started, with perfect soil and temperatures and I had perfect tomatoes by the 4th of July.
After a few years we traded Iowa gardening for Minnesota gardening. This was a new learning experience with our sandy soil and variable summer weather. We eventually figured it out and some years we have the greatest garden and other years, it could be better, as a true Minnesotan would say.
6 Steps to Gardening
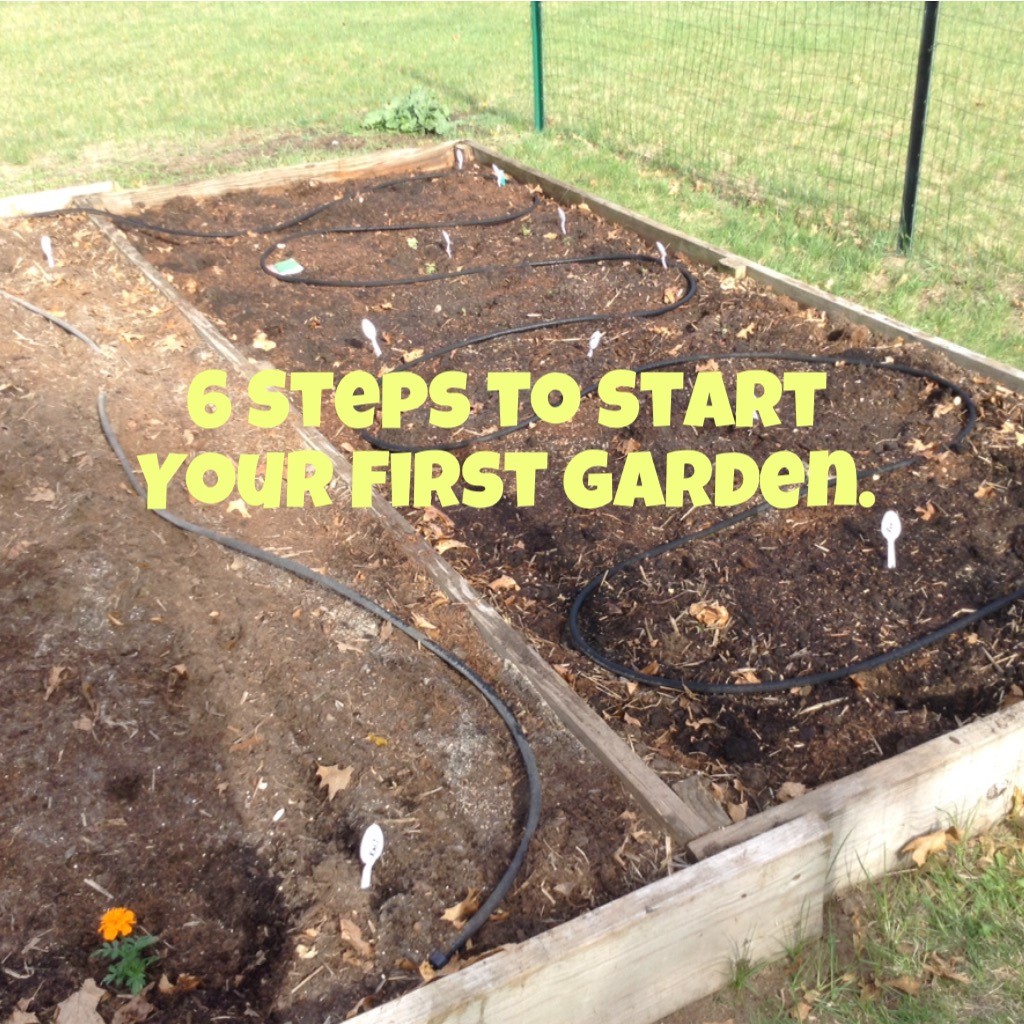
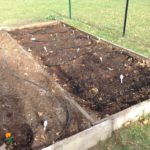
1. Decide how big you want your garden plot, ours was 4 feet x 8 feet, and build rectangular raised beds using standard 2 inch thick lumber and screws. A few years later we added another plot and then again, for a total of 3 garden plots we plant each year. Start small, you can add on later.Dig up the garden area or cut out the sod and add garden soil, peat moss (to retain water and nutrients) and compost/manure. These can be purchased by the bags at home improvement stores. We had to dig up and haul out the sand and replace with better soil. The rectangular beds can be attached to stakes into the ground if necessary. You will need about 10 inches of good soil, so dig down and replace bad soil to this depth. Every year we add more soil and till up the garden by hand. It’s never perfect the first year, but you need to start somewhere. Make sure you put in your garden in an area with plenty of sun.
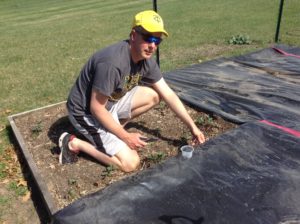
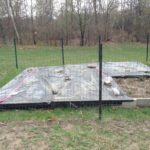
2. Each year at the end of April we till up the soil and add more compost. Cover the soil with black plastic stapled to the sides of the raised beds, tape any seams and prevent wind damage by holding down the plastic with large rocks or bricks. The plastic does two things: keeps the spring weeds from growing and warms up the soil for planting. If you live farther south, like in Iowa you can skip this step.
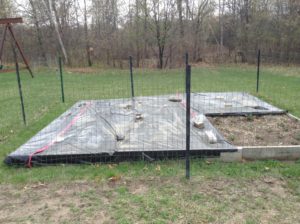
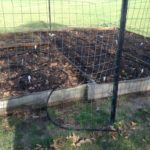
3. If you have deer or rabbits living in your backyard, then you will need to do this step. Leave a 3 foot walkway and install fence posts and wire fence 4 to 5 feet high all around the garden. Make a simple gate by leaving one end of the wire fencing attached only by hooks. Someone I know planted a very nice garden and within 2 weeks of garden growth and green plants the deer and rabbits had a nice dinner. You can also plant marigolds on the outsides of your garden to keep away deer and rabbits.
4. Wait until Memorial Day weekend and then remove the black plastic and plant the garden. When we lived in Iowa we used to plant it Mother’s Day weekend. Base this and all your steps on your climate, weather forecasts and soil. This year we planted our garden Mother’s day weekend, because the 10 day weather forecast was awesome for a change.
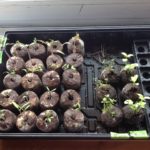
Since I love tomatoes I plant at least 6 to 8 tomatoes, peppers, cucumbers, zucchini, spinach, kale, green beans, basil and cilantro. Our garden also has a little strawberry patch. Start small and pick 2 to 3 favorites to plant. I usually start my own tomatoes and peppers in the house in March/April, but you can easily buy a few plants to put in the garden. I like Roma tomatoes, a regular tomato and a larger tomato. The rest are planted from seeds. Mark each area off with a plastic spoon labeled with a sharpie of the item you planted. We add bone meal to prevent blight on our tomatoes, blood meal for added nutrients and miracle grow to each plant. Read the labels on the bags for application amounts.
5. After planting in hills for zucchini and cucumbers and rows for the rest, spread soaker hoses throughout the garden weaving them around tomatoes and plants so each area will get covered by water. You can find black soaker hoses at a home improvement stores. Make sure the head of the soaker hose that attaches to your garden hose is sticking out of your fence so you don’t need to enter the fence to water. The soaker hoses are great for watering your garden 3-4x/week when you do not get rain. I usually turn the water on for one hour to water the garden. Set a timer or Alexa to tell you to shut off the water. I have two soaker hoses in my plot of three, so I need to change the hose and water another hour. Rain is always the best. One summer it rained the perfect amount.

6. This step is what keeps your gardening easy. We cover the top of the soil and soaker hoses with newspapers. We then add straw or cut grass clippings on top of the newspaper. In the past we used grass clippings, but this was more difficult for us to find without chemicals that the neighbors put on their lawns. The straw keeps the moisture in the garden and prevents a majority of the weeds from growing. When the tomatoes grow for a few weeks you will want to add cages to them or steak them up to support their fruit. This year we will add the straw when the seeds sprout. I will post updated pictures in a future blog.
You will love watching your garden grow, may pick a few weeds and then enjoy the first of your bounty. My first item to pick in June is always the spinach and kale and I will include some lovely salad recipes in a future blog post. July harvest includes green beans, cucumbers and zucchini. In August I am usually harvesting my tomatoes and peppers. Enjoy your garden and keep learning new tips and ideas to improve your skills. You can learn the art of gardening and make it a success for many tasty meals to come.


If this was helpful let me know with a comment.


I had no idea! I don’t have the gardening bug…. but I always appreciate the produce section, roadside stands, and farmer’s market!